Customer User Administration
A record of who your company deals with requires more information about that individual: physical location for shipping and billing purposes, as well as contact information for email and phone contact.
OTOBO offers a great way to save individual information about contacts within organizations which your company serves. You can add as many personal connections into OTOBO as needed.
Use this screen to add a customer user to the system. A fresh OTOBO installation contains no customer users by default. The customer user management screen is available in the Customer User Administration menu item of the Customers menu.
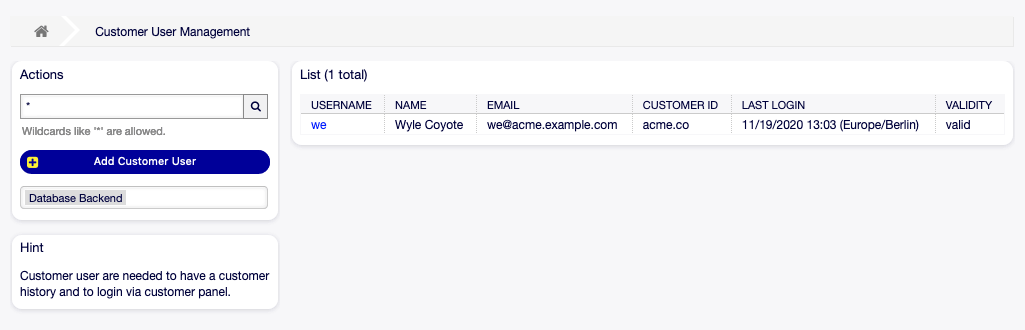
Customer User Management Screen
Manage Customer Users
Warning
A customer user can only be added to the system when at least one customer exists. Create a customer in Customer Administration first.
Note
Adding or editing a customer user is possible only by using database back end. Using external directory services like LDAP will disable the customer user management functionality.
To add a customer user:
- Click on the Add Customer User button in the left sidebar.
- Fill in the required fields.
- Click on the Save button.
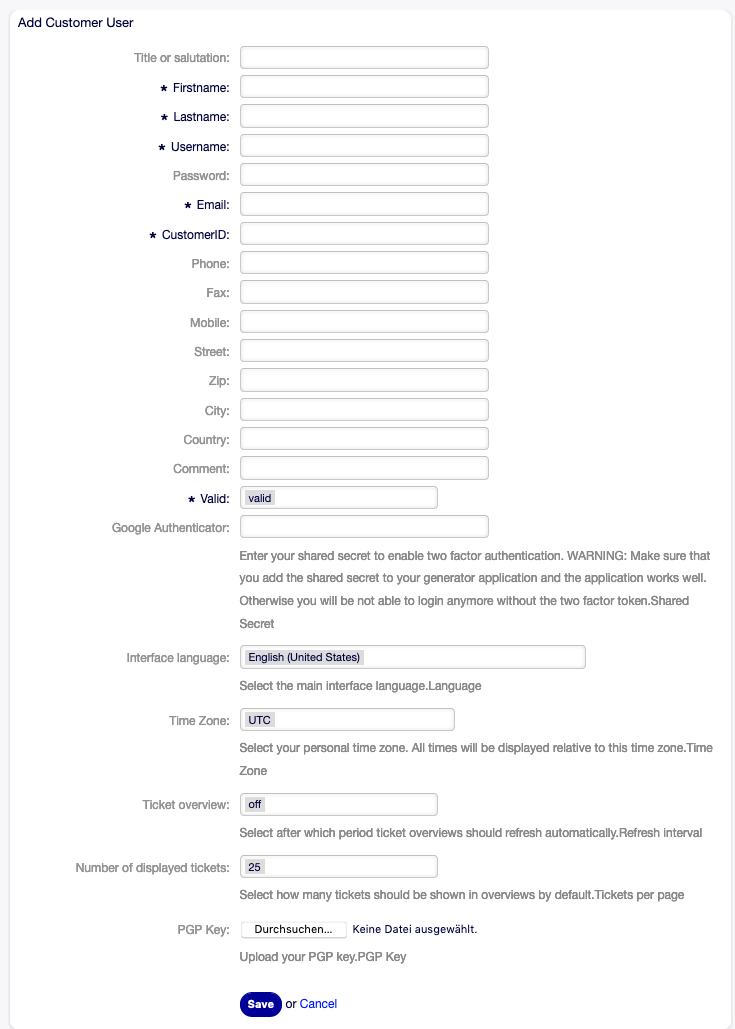
Add Customer User Screen
Warning
Customer users can not be deleted from the system. They can only be deactivated by setting the Validity option to invalid or invalid-temporarily.
To edit a customer user:
- Click on a customer user in the list of customer users.
- Modify the fields.
- Click on the Save or Save and finish button.
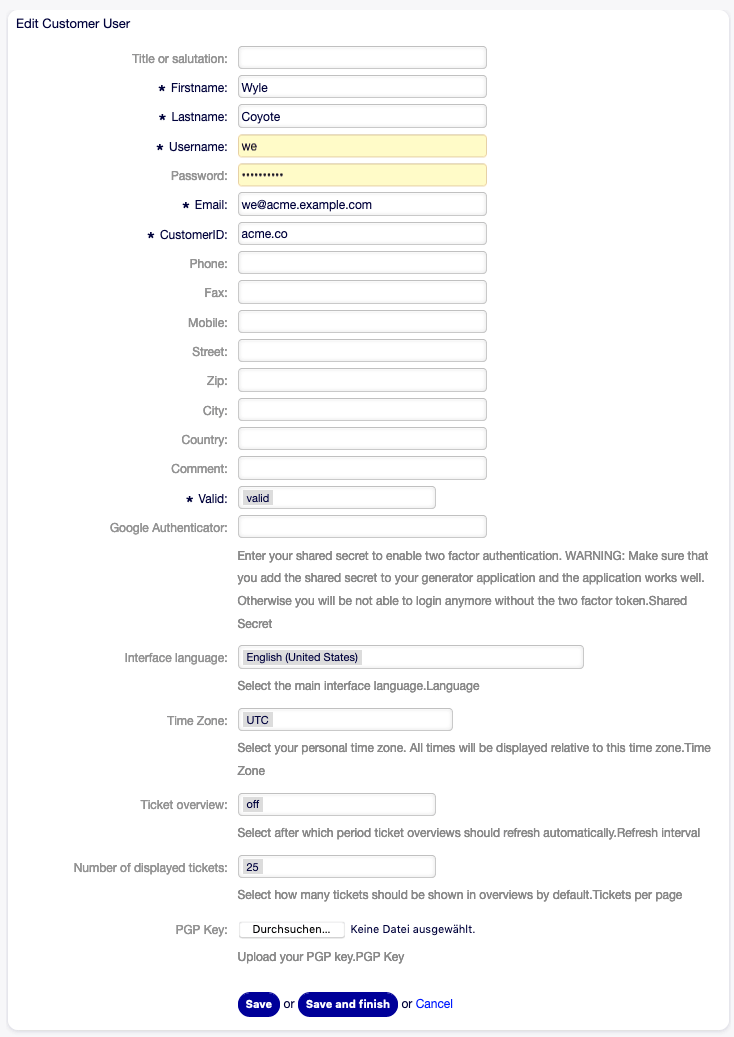
Edit Customer User Screen
To find a customer user:
- Enter a search term to the search box in the left sidebar.
- Click on the magnifying glass icon in the right part of the field or hit an
Enter.
Note
If several customer users are added to the system, use the search box to find a particular customer user. Only the first 1000 customer users are listed by default.
The customer user permissions can be controlled by adding a customer or a customer user to groups. This can result a complex matrix of permissions. The effective permissions for a customer user can be checked in the bottom of the Edit Customer User screen.
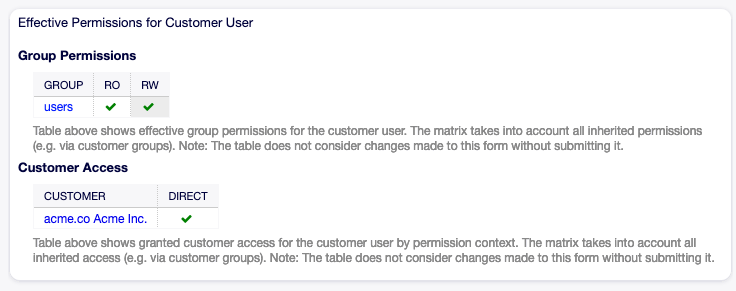
Effective Permissions for Customer User Widget
See also
Customer group support needs to be enabled to use this feature. Please contact your administrator.
Note
Only administrators can add customer users to groups.
Customer User Settings
The following settings are available when adding or editing this resource. The fields marked with an asterisk are mandatory.
Note
These are the default fields available for the internal database table.
- Title or salutation
- Some name prefix can be added here like Mr., Dr., Jr., etc.
- Firstname *
- The first name of the customer user.
- Lastname *
- The last name of the customer user.
- Username *
- The username of the customer user to login to the system.
- Password
- The password of the customer user. This will be auto-generated if left empty.
- Email *
- The email address of the customer user.
- Customer *
- The customer company the customer user belongs to. Select a customer from the list. Customers can be added in Customer Administration.
- Phone
- The phone number of the customer user.
- Fax
- The fax number of the customer user.
- Mobile
- The cellphone number of the customer user.
- Street
- The street name of the customer.
- Zip
- The zip code of the customer.
- City
- The headquarter city of the customer.
- Country
- The country of the customer user.
- Comment
- Add additional information to this resource. It is recommended to always fill this field as a description of the resource with a full sentence for better clarity, because the comment will be also displayed in the overview table.
- Validity *
- Set the validity of this resource. Each resource can be used in OTOBO only, if this field is set to valid. Setting this field to invalid or invalid-temporarily will disable the use of the resource.