Personal Preferences
Use this screen to set personal preferences in OTOBO. The personal preferences screen is available in the Personal Preferences menu item of the Avatar menu.
This overview screen consists of three modules.
- User Profile
- Notification Settings
- Miscellaneous
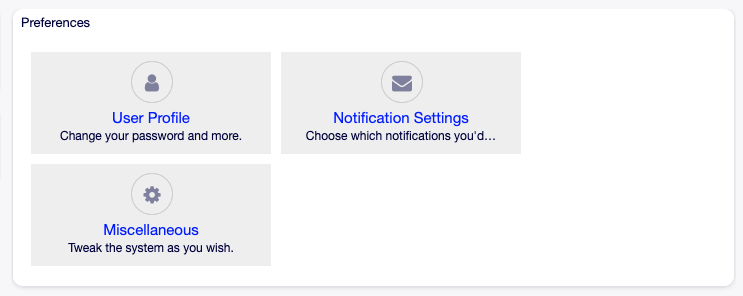
Preferences Modules
Each module consists of widgets, which have two columns. In the first column is the setting, and in the second column is a description for the setting.
Note
Do not forget to apply the changes by clicking on the tick icon in the right part of the widget.
User Profile
This is the agent profile, where the account related settings can be changed.
Change password
In this widget the current password can be changed. To change the password, all fields must be filled.

Change Password Widget
- Current password
- Type your current password for security reasons, if you want to change it.
- New password
- Type your new password here.
- Verify password
- Type your new password again to avoid misspelling the new password.
Google Authenticator
See also
System configuration PreferencesGroups###GoogleAuthenticatorSecretKey needs to be activated to use this feature.
This is a two factor authentication token described in RFC6238 to improve the account security. Google Authenticator is a mobile application to generate tokens, but any other generator application can be used.

Google Authenticator Widget
- Shared Secret
This is a string to use for token generation. It must contain only uppercase letters (A-Z) and numbers (2-7). Click on the Generate button to generate a secret.
Warning
Make sure that you add the shared secret to your generator application and the application works well. Otherwise you will be not able to login anymore without the two factor token.
Avatar
Here can be changed the image used as avatar image in Ticket Zoom screen and in the main menu.
Avatar Widget
It is not possible to upload an avatar image directly in OTOBO. You have to register your email address on Gravatar to use this feature. Otherwise the first letters of first name and last name will be displayed.
Language
Use this widget to set the language for the OTOBO user interface.

Language Widget
Only those languages are listed by default, in which OTOBO is translated more than 95%. To see all available languages, click on the refresh icon next to the drop-down list.
See also
Translation status of incomplete languages are low, but you can help to improve the translation. See the developer manual for more information about translating OTOBO.
Time Zone
Each agent has to set the timezone of the current location to get proper date and time calculation in OTOBO.

Time Zone Widget
Select the location where you are currently in.
Out Of Office Time
With this widget agents can inform other agents about absence. This is useful for resource planning and workload balancing.
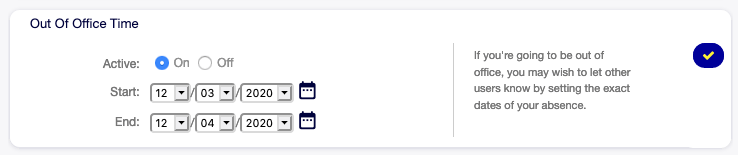
Out Of Office Time Widget
- Active
- The function can be turned on or off.
- Start
- The first day of absence.
- End
- The last day of absence.
Notification Settings
These settings are for customizing personal notifications.
My Queues
In this widget some queues can be selected as preferred queues. Tickets in this queues will be displayed under the Tickets in My Queues filter of the ticket widgets, and notifications will be sent, if new tickets are available in one of the selected queues.
In Queue View only those queues will be displayed under My Queues filter, that are selected in this widget.
In case of owner or responsible selection, only agents are listed by default as potentially owner or responsible, who are set the queue as preferred queue in this widget.

My Queues Widget
Select one or more queues from the drop-down list.
My Services
See also
System configuration Ticket::Service needs to be activated to use this feature.
In this widget some services can be selected as preferred services.
In Service View only those services will be displayed under My Services filter, that are selected in this widget.

My Services Widget
Select one or more services from the drop-down list.
Ticket Notifications
In this widget can be selected the methods used for any kind of ticket notifications.
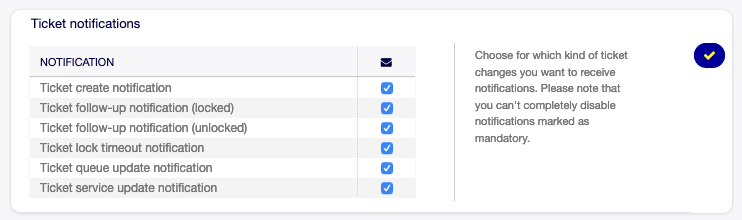
Ticket Notifications Widget
The possible methods are Email, Web View or SMS.
Appointment Notifications
In this widget can be selected the methods used for appointment notification.

Appointment Notifications Widget
The possible methods are Email, Web View or SMS.
My Chat Channels
See also
System configuration ChatEngine::Active needs to be activated to use this feature.
In this widget some chat channels can be selected as preferred external chat channels. You will be notified about external chat requests in these chat channels.
In Manage Chats screen only those chat channels will be displayed under My Chat Channels filter, that are selected in this widget.

My Chat Channels Widget
Select one or more chat channels from the drop-down list. An agent needs to select in which chat channels want to be available. Customers will only be able to create a new chat request on a certain channel if at least one agent with owner permissions has selected this channel in their preferences and is set as available for external chats by the chat availability icon in the Dashboard header toolbar.
Miscellaneous
These settings are for change of visual appearance of OTOBO.
Skin
In this widget can be selected the skin, that OTOBO should wear.

Skin Widget
Select a skin from the drop-down list.
Overview Refresh Time
It is possible to make overview screens automatically refreshed after a period of time.
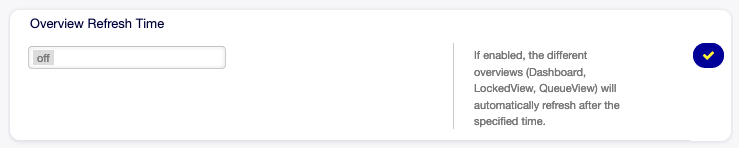
Overview Refresh Time Widget
Select a refresh interval from the drop-down list.
Warning
Refreshing the overview screens too often can cause performance issues on large systems with many agents.
Screen after new ticket
Select, which screen should be shown after a new ticket has been created.

Screen After New Ticket Widget
Select a screen from the drop-down list.
Advanced
In this module can be configured some system configuration options.
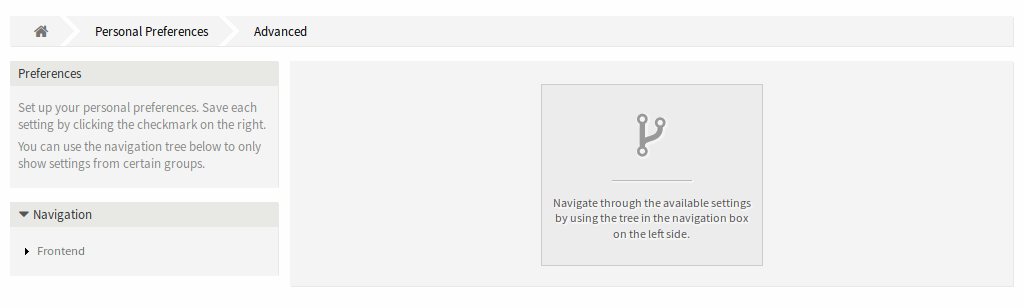
Advanced Preferences Screen
To modify a setting:
- Use the tree navigation in the left sidebar to find the desired setting.
- Modify the value.
- Click on the tick button in the right side of the setting widget.
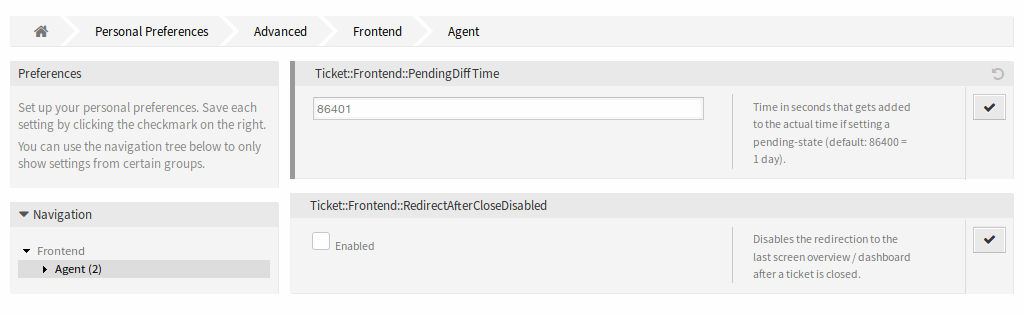
Advanced Preferences - Tree navigation Screen
The modified settings have a gray border on the left.
To reset a setting:
- Click on the reset icon in the top right corner of the setting widget.