Customer Administration
Use this screen to add customer companies to the system. A fresh OTOBO installation contains no customers by default. The customer management screen is available in the Customer Administration menu item of the Customers menu.

Customer Management Screen
Manage Customers
Note
Adding or editing a customer is possible only by using database back end. Using external directory services like LDAP will disable the customer management functionality.
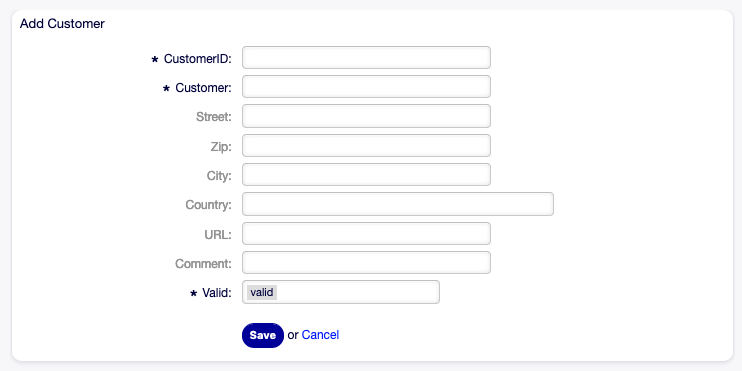
To add a customer:
- Click on the Add Customer button in the left sidebar.
- Fill in the required fields.
- Click on the Save button.

Add Customer Screen
Warning
Customers can not be deleted from the system. They can only be deactivated by setting the Validity option to invalid or invalid-temporarily.
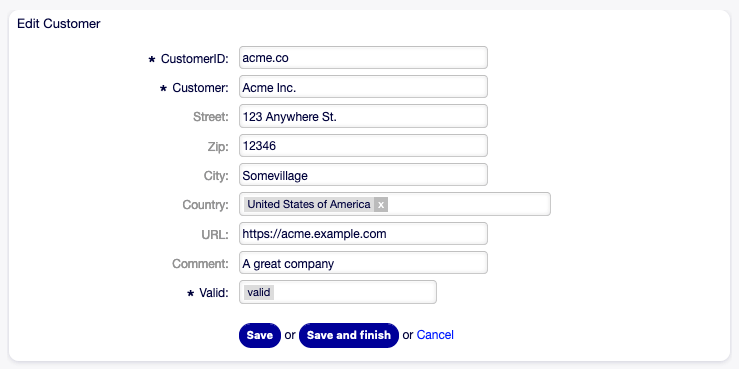
To edit a customer:
- Click on a customer in the list of customers.
- Modify the fields.
- Click on the Save or Save and finish button.

Edit Customer Screen
To find a customer:
- Enter a search term to the search box in the left sidebar.
- Click on the magnifying glass icon in the right part of the field or hit an
Enter.
Note
If several customers are added to the system, use the search box to find a particular customer. Only the first 1000 customers are listed by default.
Customer Settings
The following settings are available when adding or editing this resource. The fields marked with an asterisk are mandatory.
- Customer ID *
- The internal name of the customer. Should contain only letters, numbers and some special characters.
- Customer *
- The name of this resource. Any type of characters can be entered to this field including uppercase letters and spaces. The name will be displayed in the overview table.
- Street
- The street name of the customer.
- Zip
- The zip code of the customer.
- City
- The headquarter city of the customer.
- Country
- The country of the customer. Choose a country from the list.
- URL
- The web page or other URL of the customer.
- Comment
- Add additional information to this resource. It is recommended to always fill this field as a description of the resource with a full sentence for better clarity, because the comment will be also displayed in the overview table.
- Validity *
- Set the validity of this resource. Each resource can be used in OTOBO only, if this field is set to valid. Setting this field to invalid or invalid-temporarily will disable the use of the resource.